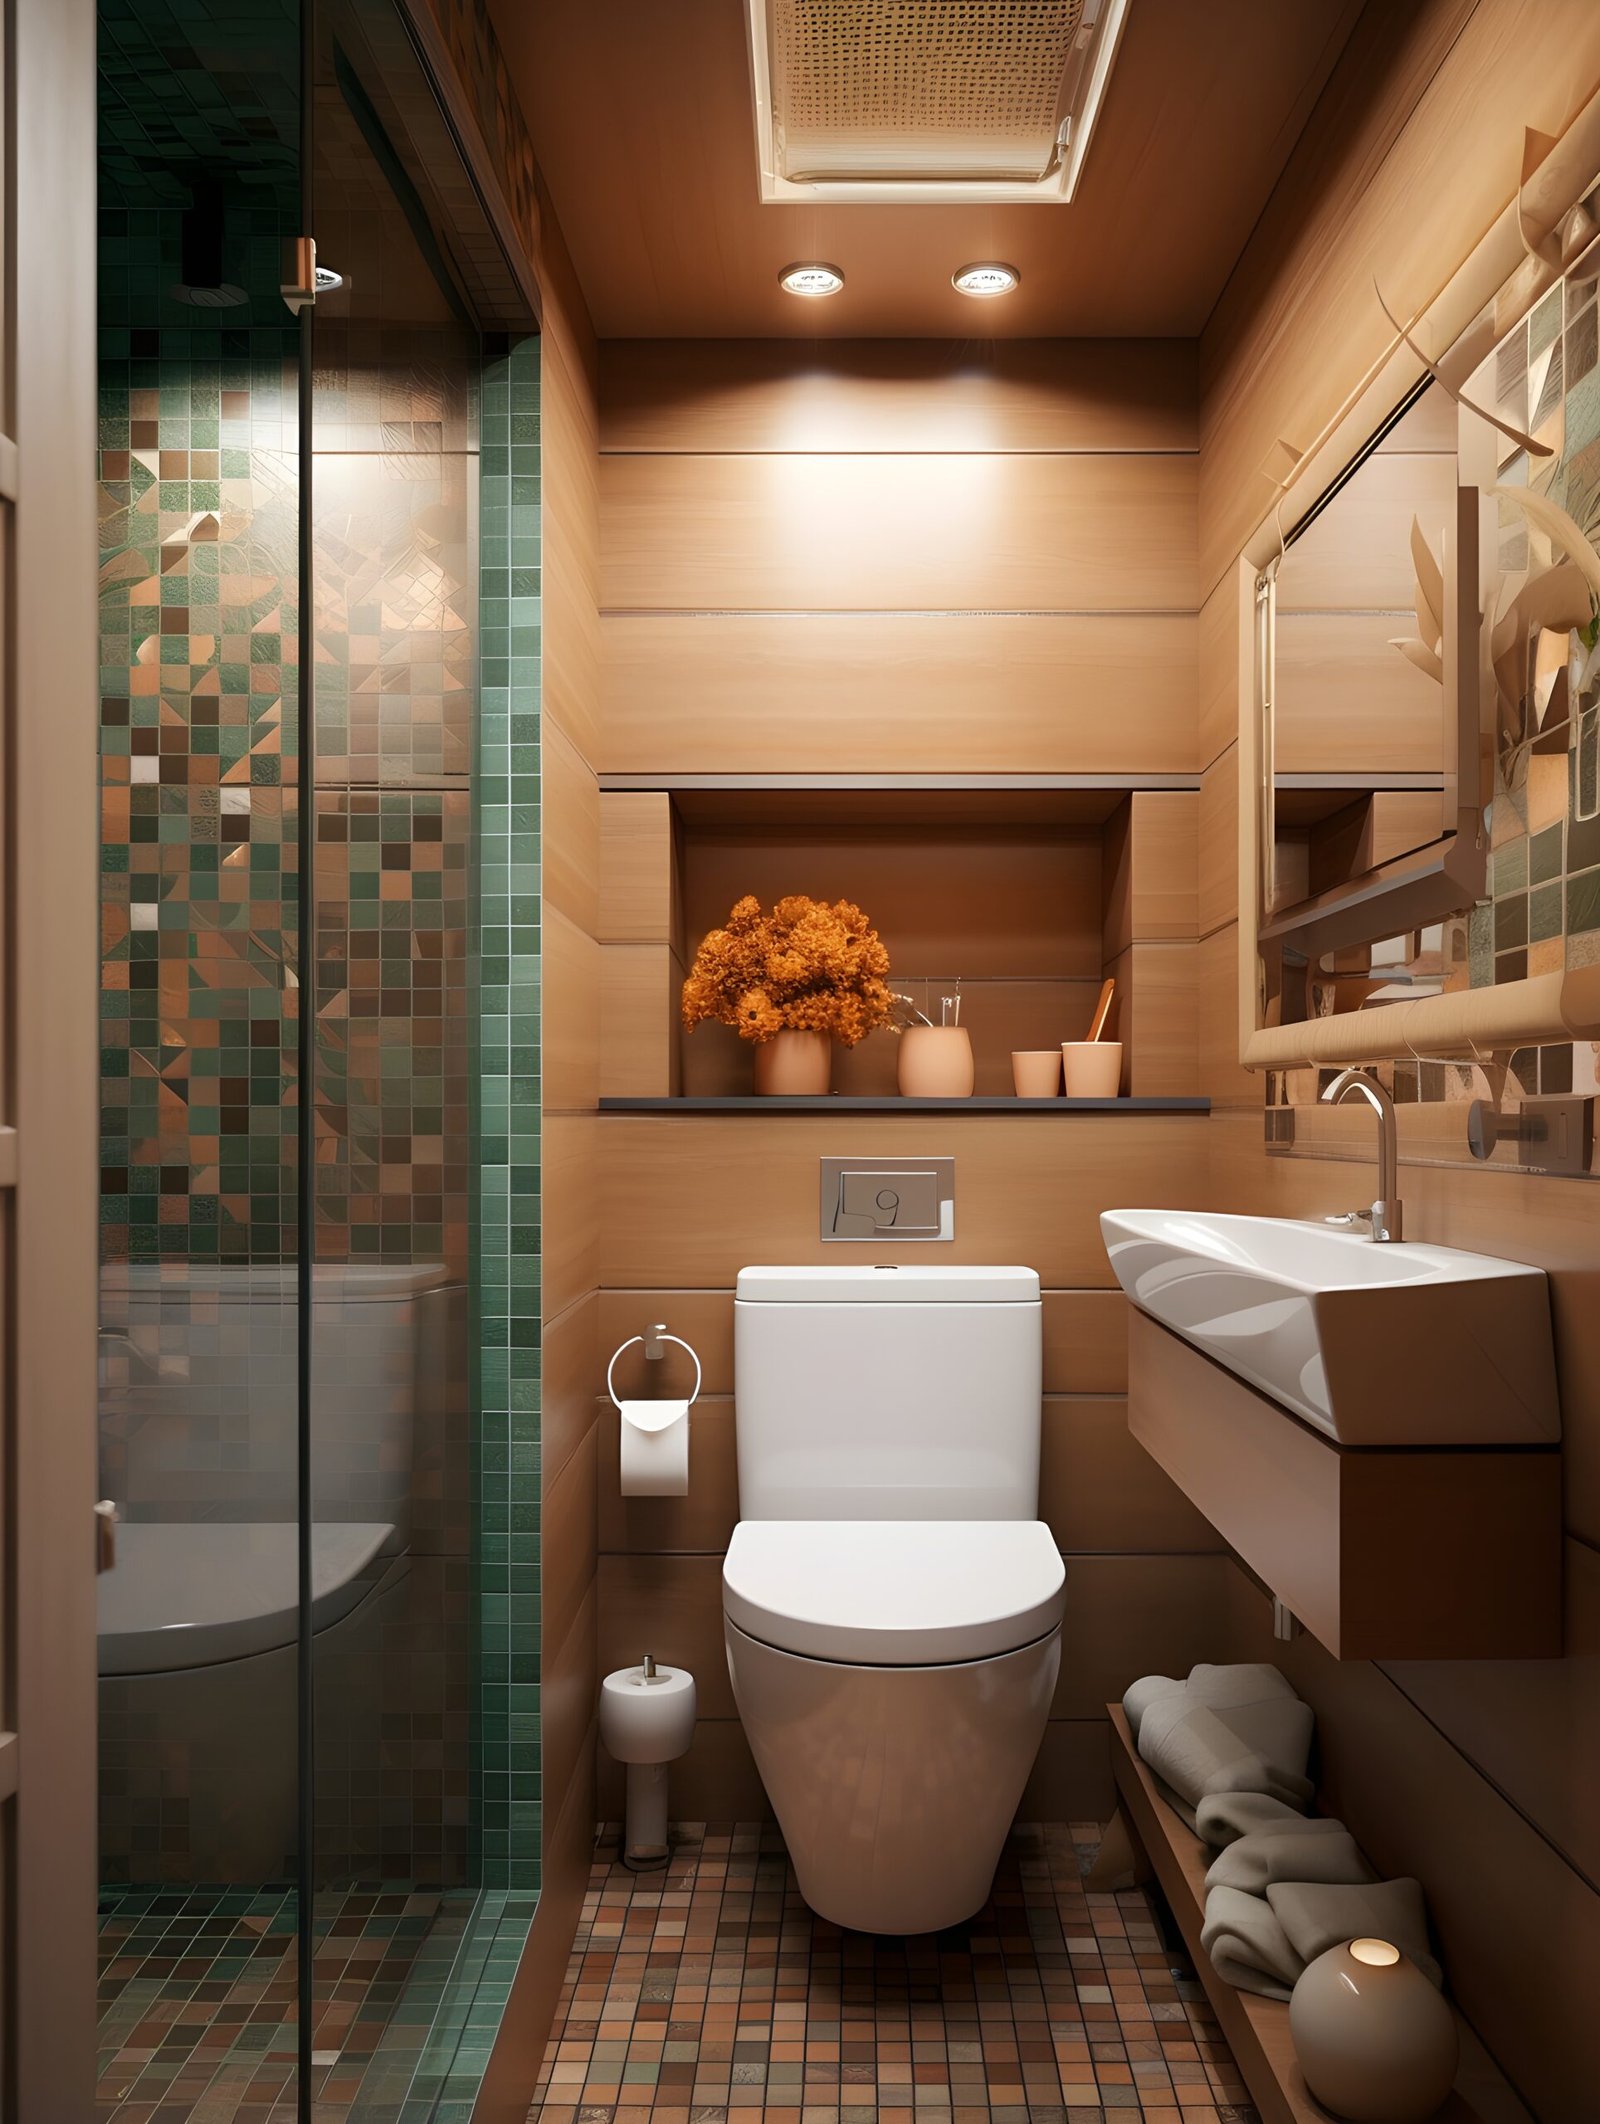
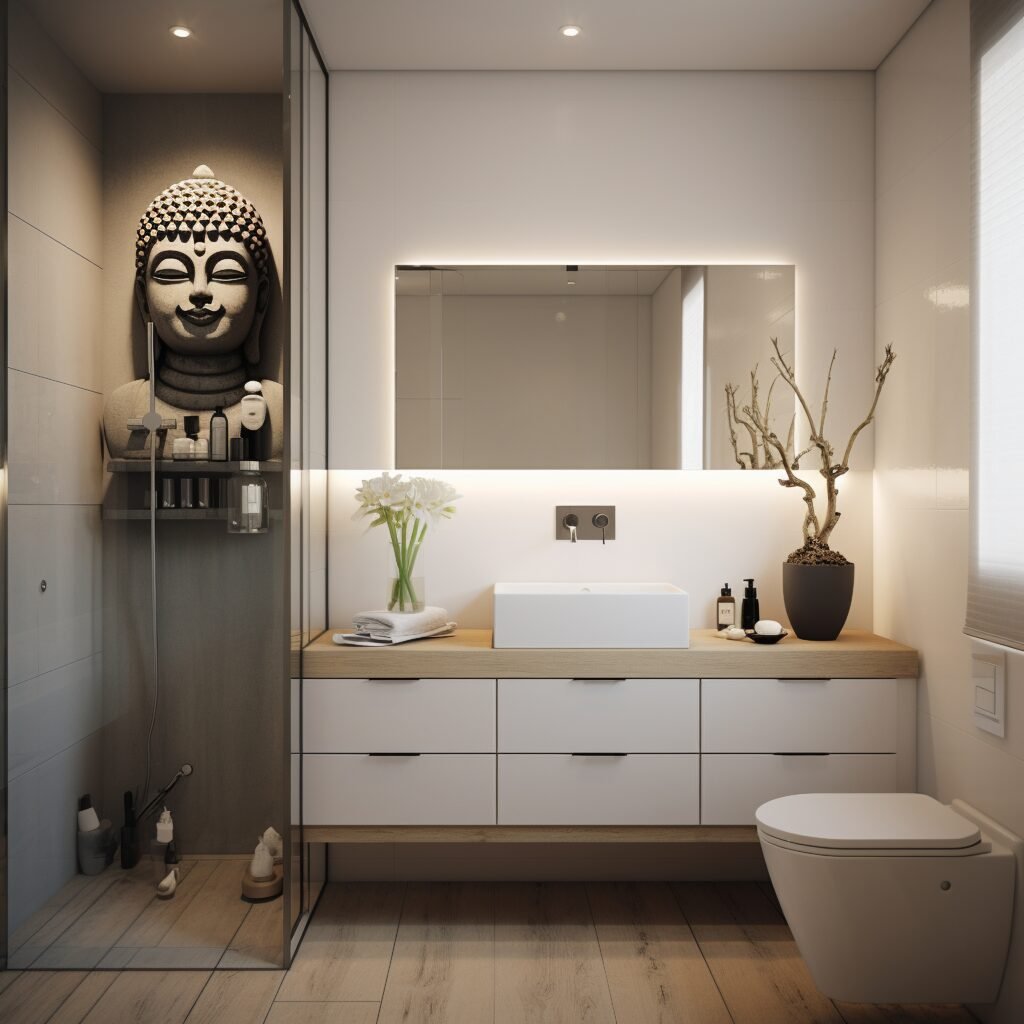
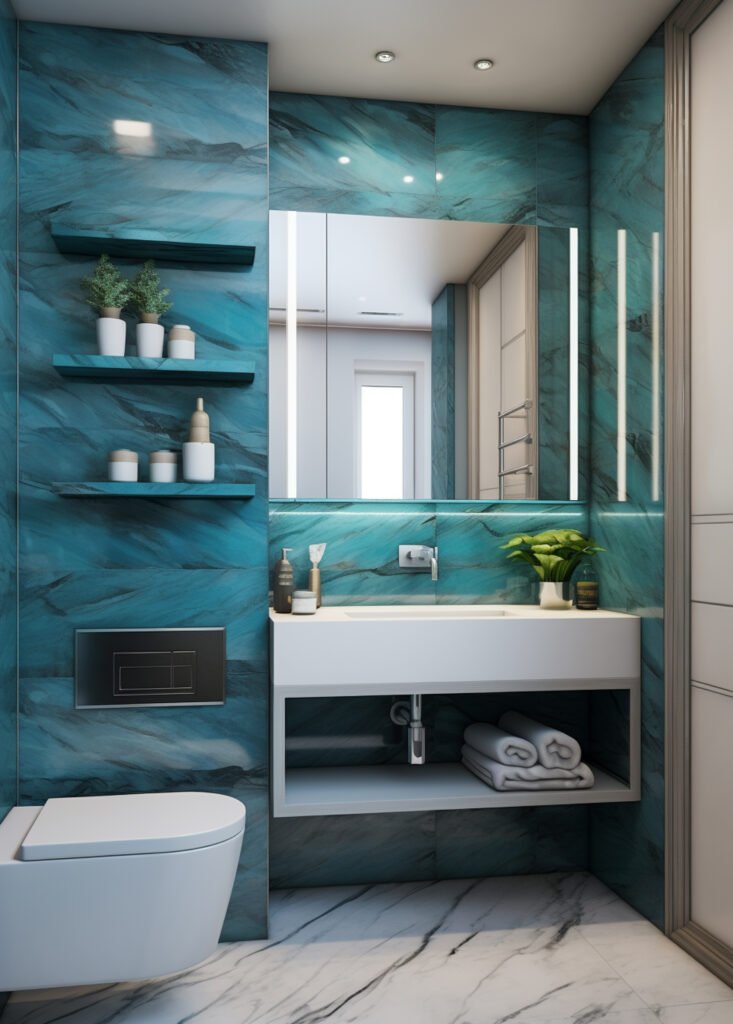
Small Bathroom Design on a Budget: Smart Solutions for Compact Spaces
Designing a bathroom when space is limited and your budget is tight can feel like a big challenge. But the truth is, a small bathroom doesn’t have to feel cramped or cheap — with thoughtful choices, you can create a space that is functional, stylish, and affordable. In this post we explore how to make the most of every inch in a small bathroom, apply budget-friendly materials and finishes, and deliver a design that works for everyday use and adds value. Whether you’re renovating a tiny guest bath, a powder room, or a compact master bath, you’ll find tips to stretch your budget while elevating the look.
Why Small Bathroom Design Matters
When you’re working in a compact space, every decision matters: layout, lighting, storage, materials, colours—each one affects how spacious (or cramped) the room feels. A well-designed small bathroom can:
Improve comfort and usability.
Make cleaning and maintenance easier.
Increase the perceived value of your home.
Provide a sense of calm and order rather than clutter and frustration.
According to sources, the average cost for a bathroom remodel can be high, but major savings come if you keep the existing layout and plumbing intact. When space is tight, strategic design choices make a huge difference.
Plan Your Layout and Scope Carefully
Before buying anything, take time to plan. For budget-friendly small bathroom design:
Keep the existing footprint and plumbing if possible
Major structural changes—moving drains, shifting walls—drive up cost quickly. If you keep the current layout of toilet, sink, and shower/bath you remove big expense items. Better Homes & Gardens+1
Measure everything
Know your dimensions: length, width, ceiling height, door swing, clearance in front of fixtures. In a small room, even a few extra centimetres matter.
Decide on priorities
Ask: What bothers you now? Storage shortage? Poor lighting? Dated finishes? Prioritise one or two big impact items, and preserve budget elsewhere.
Set a realistic budget
Every small bathroom makeover begins with a budget. Some DIY remodels have been done for under $1,000 when layout and major items were preserved. Remember to reserve part of budget for contingencies (unexpected issues like water damage or plumbing complications).
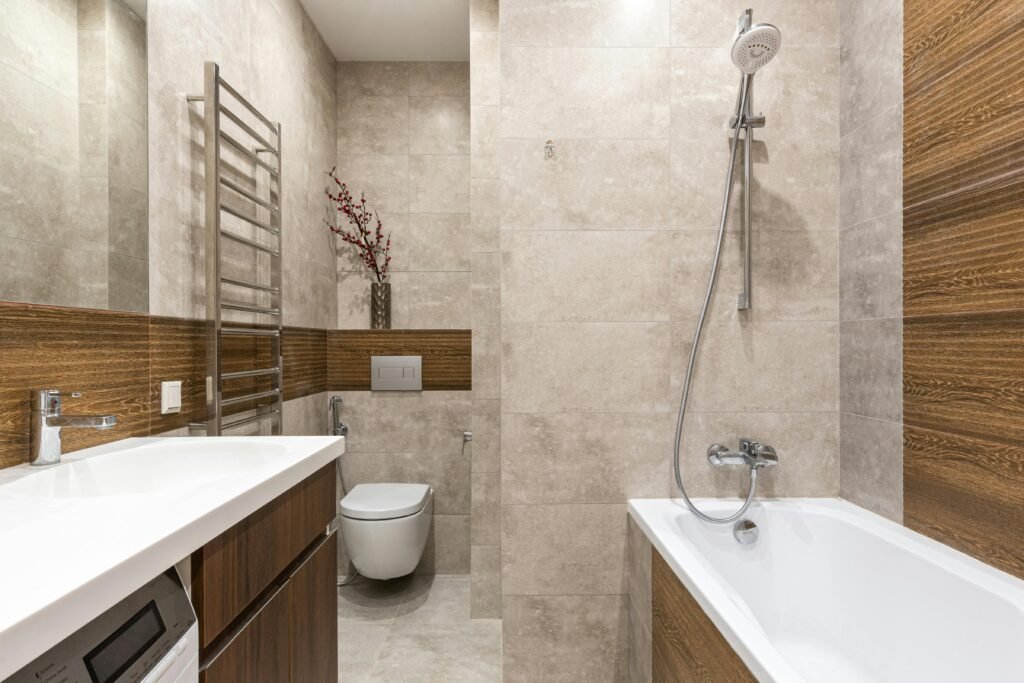
Choose Budget-Friendly Materials & Finishes
A big part of keeping costs down is smart material selection.
Painted walls instead of full re-tile
Rather than retile the entire room, sometimes a fresh coat of good paint (especially moisture-resistant paint) can brighten up the space and make it feel new. Even painting existing tiles or changing grout can upgrade without full replacement.
Use smaller or standard tiles for walls or floors
Smaller bathrooms can benefit from tiles that aren’t oversized (which may cost more and visually overwhelm). Using standard subway tiles or smaller formats keeps cost in check.
Update hardware and fixtures
Swapping out dated taps, showerheads, mirror, light fixtures, cabinet handles can change the look dramatically at low cost.
Affordable storage and shelving
In a small space you need smart storage — open shelves, wall niches, floating vanities. Using ready-made units rather than custom cabinetry saves. Many sources list adding built-in or clever storage as a cost-effective upgrade.
Flooring alternatives
If new tile is too expensive, consider sheet vinyl or higher-quality low-cost tile. Also self-adhesive floor tiles (though one must check suitability for wet areas) have been used for DIY budget makeovers.

Make Small Space Work: Layout & Visual Tricks
Designing for a small bathroom means making it feel bigger and avoiding visual clutter. Here are strategies:
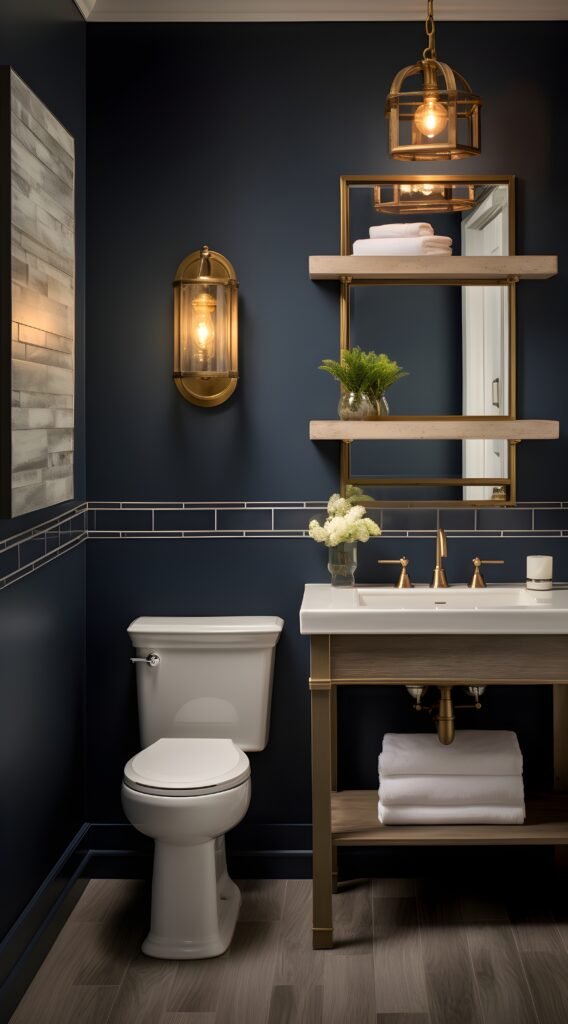
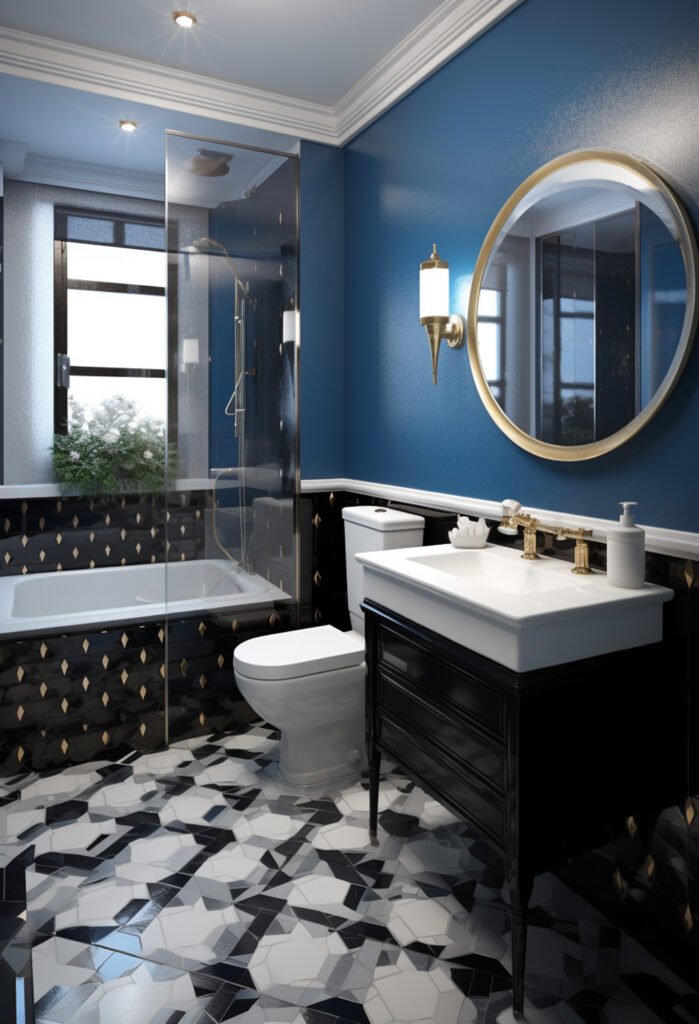
Use light and neutral colour palette
Lighter colours reflect light and help spaces feel airy. Using whites, pale greys, soft pastels can expand visually. Darker colours can work if applied thoughtfully (e.g., accent wall) but risk making the space feel smaller.
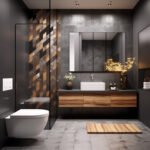
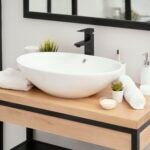
Choose a floating vanity or pedestal sink
By keeping the floor visible underneath the vanity, the room feels larger. Wall-mounted fixtures free up visual floor space.
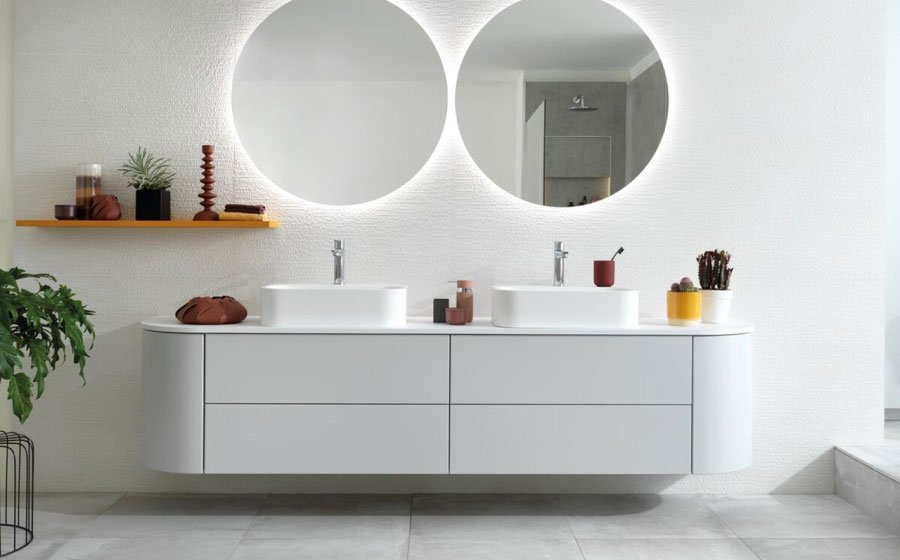
Use mirrors and lighting to expand space
Large mirror(s) expand visual depth. Good lighting (layered task + ambient + accent) improves both function and perception of space. Poor lighting and clutter are common reasons small bathrooms look cheap.
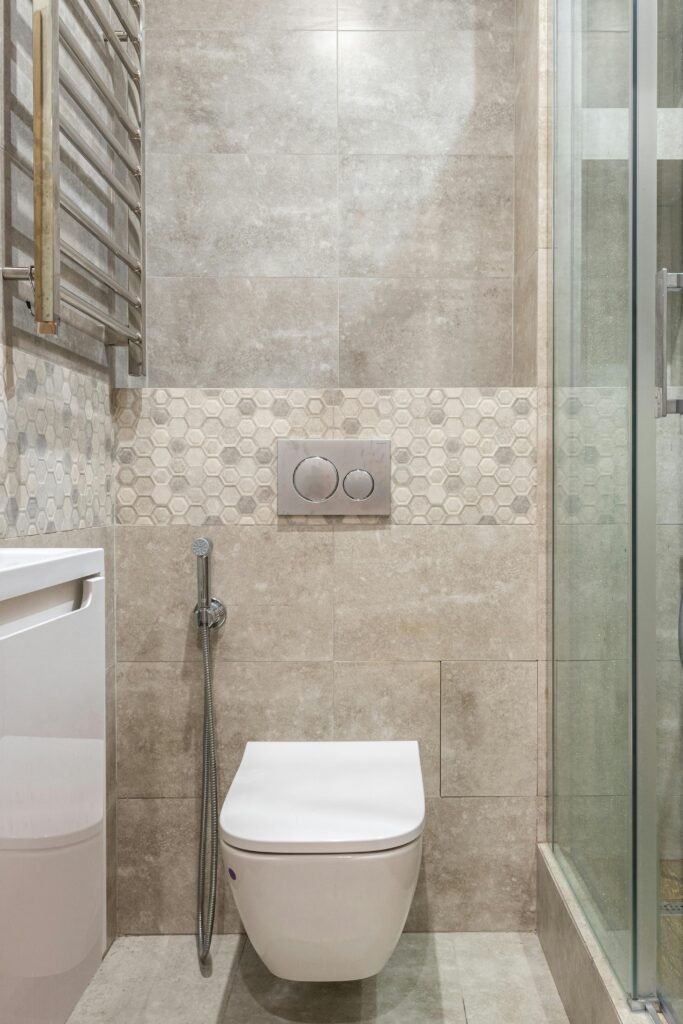
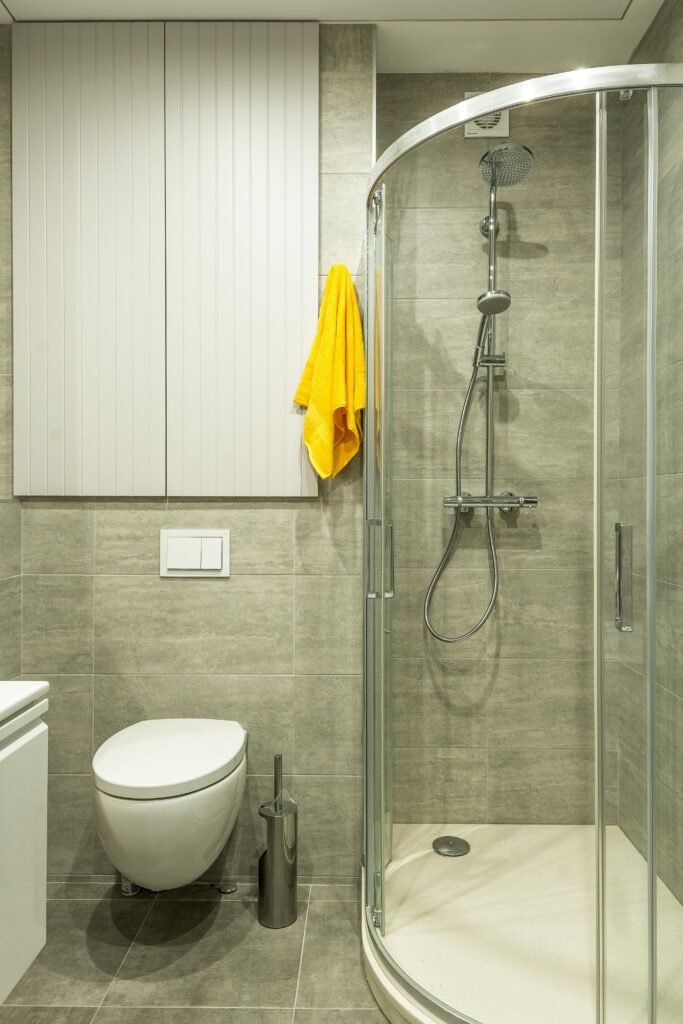
Clear shower enclosure if possible
If your budget allows, using a clear glass door rather than opaque or shower curtain enlarges perception of space. If budget doesn’t allow, ensure your curtain/door is minimised and in light colour to let light through.
Use vertical space for storage
Tall cabinets, shelving to ceiling, hooks behind door — use all available surfaces. Avoid bulky floor-standing storage.
Keep clutter to a minimum
In small spaces clutter is the enemy. Adequate storage and organising items out of sight helps the space feel calm.
Budget Design Ideas You Can Try Right Now
Here are concrete, practical ideas you can implement even with limited funds.
Repaint existing vanity or cabinet rather than replace
If your existing vanity has sound structure, a fresh paint job and new hardware can dramatically facelift the space. One remodel reportedly cost ~$1,200 by repainting and retaining key components.
Replace old lighting fixture
Switch to a modern light above the mirror, or add wall sconces for better front lighting. A low-cost change with high visual impact.
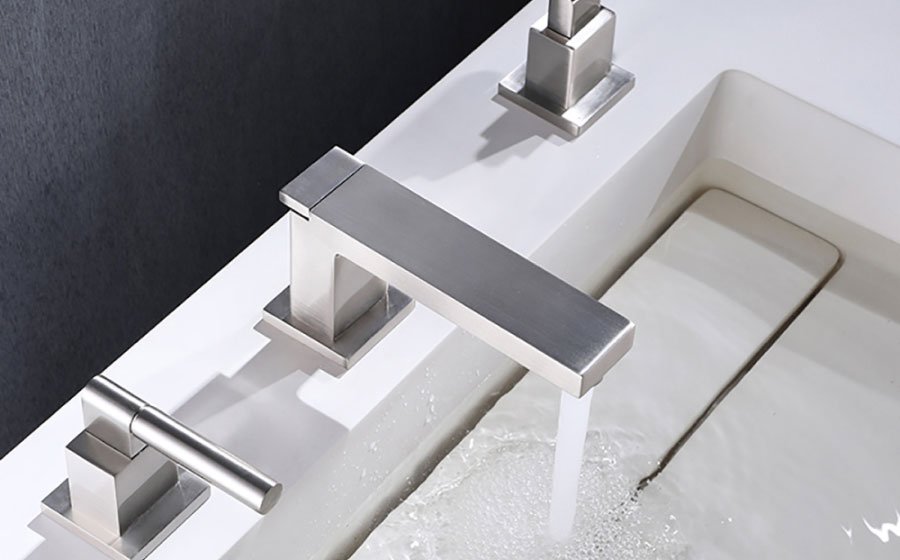
Update bath/shower hardware
A new faucet, showerhead, even trim kit can refresh the look. Since plumbing stays the same, labour cost low.
Use open shelving or wall niche
Instead of bulky cabinets, install floating shelves in a corner or above the toilet. Display towels or decorative items for style + storage.
Use removable or low-cost decorative finishes
Replace shower curtain with fabric one, add peel-and-stick wallpaper for accent wall (where moisture allows), or use wall decals. These decorative touches elevate look without major reno.
Accessorize smartly
New mirror, updated towel bars, matching hardware finishes (chrome, brushed nickel) give cohesion. Even a new bath mat, towels, small plants can elevate the space.
Fresh paint on walls & ceiling
Use a moisture-resistant paint. Paint is one of the most cost-effective updates. One source says it’s often the way to make a big impact in a small space.
Focus on Three Budget Tiers

Here’s how you might think of budgets in three tiers (Indicative):
Tier 1: Minimal budget
Keep existing layout and fixtures.
Fresh paint walls, new towels/accessories.
Swap lighting, hardware.
Add floating shelves.
This level largely cosmetic and can be DIY.
Tier 2: Moderate budget
Replace vanity top or repaint vanity + replace handles.
Replace faucet/showerhead.
Replace shower curtain with glass door (if budget allows) or upgrade tile surround partially.
Better flooring or low-cost tile.
This level begins to include materials and possibly partial labour.
Tier 3: Higher budget (but still “budget” relative to full remodel)
New tile floor and shower surround.
New vanity and sink (prefab).
New lighting + better ventilation.
Custom storage built-in.
This level approaches a full remodel, but still retains layout to reduce cost.
According to articles, the biggest savings come from keeping existing plumbing, load-bearing walls and layout.
Common Mistakes to Avoid
Here are pitfalls that can derail your budget small bathroom project.
Changing layout/drain location unnecessarily: Adds cost, disruption.
Using oversized tiles or premium materials everywhere: Might look expensive but cost climbs and may overwhelm the space.
Ignoring lighting or ventilation: Poor lighting makes the space feel small and claustrophobic; poor ventilation can lead to damage later.
Too many focal points / cluttered design: In a small bathroom simpler is better. Use one or two design elements and keep the rest cohesive.
Over-matching everything: Perfectly matching fixtures and accessories may look bland and cheap; mixing finishes can add depth.
Neglecting storage solutions: Without adequate storage the bathroom will instantly feel messy and smaller.
Using peel-and-stick materials without checking suitability: Some budget materials may not hold up well in wet, humid environments.

How to Choose Colours, Finishes & Fixtures
Colour scheme
Go with a light base: white, off-white, soft grey, pastel.
For accent: consider a deeper colour only on one wall or in small elements.
Ceilings can be lighter still to open up the top.
Use finishes (e.g., brushed nickel, matte black) for hardware/fixtures for contrast.
Fixtures & hardware
Match the finish of taps, showerheads, handles for a unified look.
Choose sleek, streamlined fixtures rather than bulky ones in a small room.
Wall-mounted taps or controls free up counter space.
Tiles and surfaces
Use consistent tile size and light grout to keep continuity.
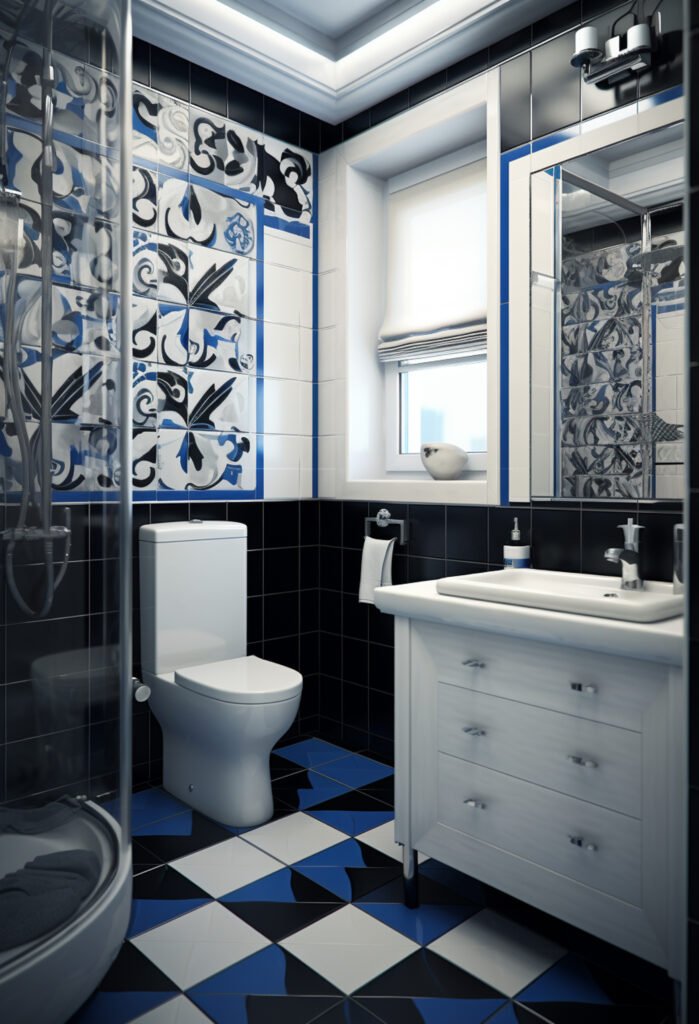
If budget allows, a bold pattern tile on floor or one wall can become a feature without re-tiling everything.
Consider easy-clean surfaces and good durable materials — a small bathroom gets frequent use.
Lighting
Mix ambient light (ceiling), task light (mirror), and accent light (niche, shelves).
Use warm-white bulbs (~2700K) rather than harsh white for a relaxing feel.
Ventilation
Even on a budget, ensure there is proper ventilation (window or fan). Moisture damage will cost more in the long run.
Maintenance & Long-Term Considerations
When designing on a budget, it’s important to consider how things will age and how easy they will be to maintain.
Choose tiles and grout that are easy to clean and resistant to mould.
Ensure fixtures are accessible for replacement (future).
Keep storage flexible so you can adapt as needs change (kids, guests, etc.).
Choose finishes that will hold up to moisture and frequent cleaning (especially in smaller bathrooms).
Think about resale or rental value — a well-designed small bathroom adds more value than a poorly executed large one.

Case Study: Budget Small Bathroom Refresh
Here’s a quick example to illustrate how a budget-smart small bathroom design can work:
Existing layout retained (vanity, shower, toilet).
Vanity cabinet and countertop kept; cabinet repainted and new handles installed.
Wall paint refreshed in soft white.
New light fixture added above mirror.
Subway tile surround selected for shower area (cost-effective, standard size).
Floating shelves added above toilet for extra storage.
New hardware and towel accessories in brushed nickel.
Total cost kept well under what a full remodel would cost.
Such steps mirror what many DIYers have achieved.
Summary & Takeaway
When you keep your focus keyphrase — “small bathroom design on a budget” — in mind, the headline takeaway is: you don’t need a large budget to make a small bathroom feel luxurious, functional and stylish. You just need smart planning, wise material choices, and an understanding of how to make the space feel bigger.
Key takeaways:
Retain layout and plumbing when possible to save big.
Prioritise light, neutral colours, good lighting and storage.
Update finishes, accessories and hardware rather than replacing everything.
Use vertical space and clever storage to minimise clutter.
Choose materials and surfaces with durability and maintenance in mind.
Avoid over-designing; keep things proportional for a small space.
Remember: budget doesn’t mean cheap-looking — with the right design it means smart.
If you’re ready to begin your small bathroom transformation, start by measuring your space, setting a budget, and choosing one or two changes that will deliver the most impact. Then build your plan around those, allocate your budget wisely, and you’ll end up with a bathroom that looks and feels far more expensive than it actually was.